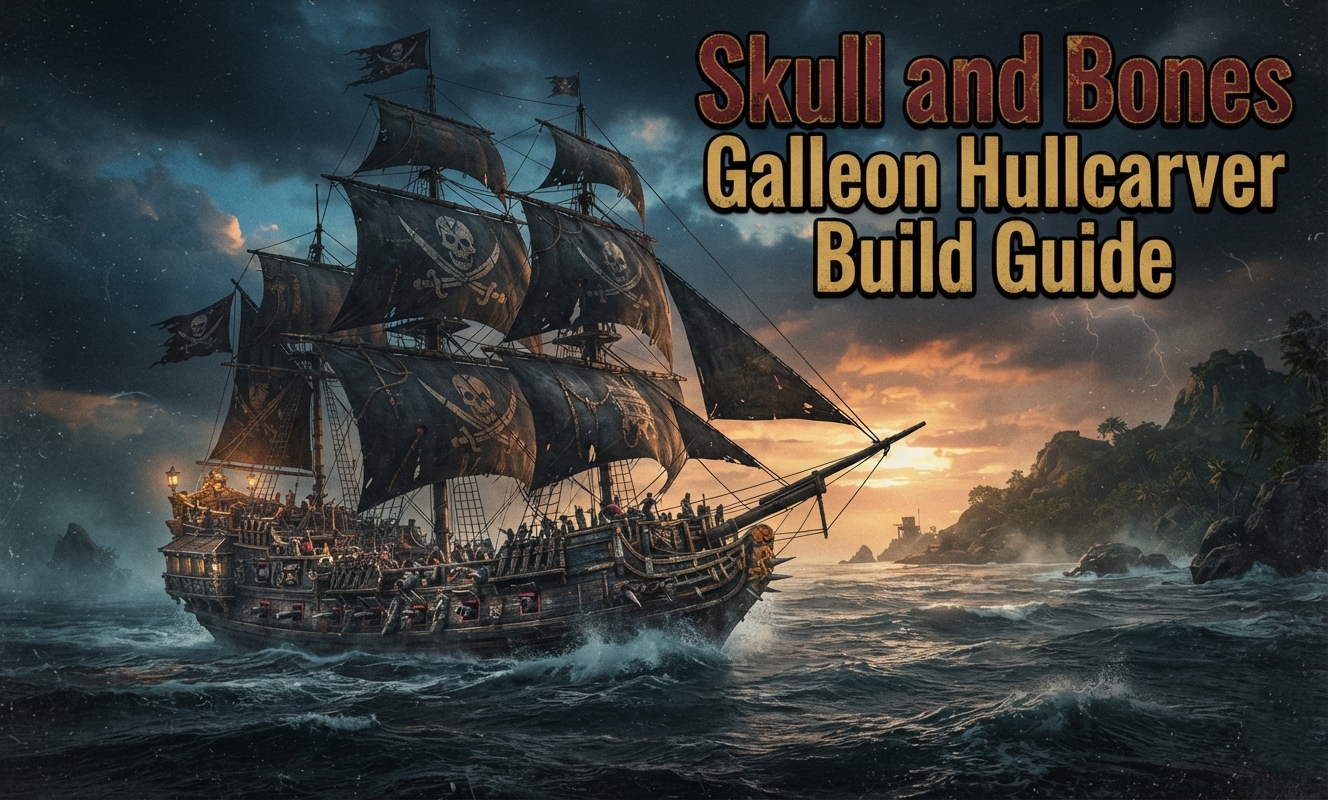
The Galleon Hullcarver build is one of the strongest setups for players who want to dominate long battles in Skull and Bones. Designed around sustained broadside pressure, this build combines powerful piercing damage, strong defensive layers, and healing-focused furniture to keep your ship alive while fighting heavily armored enemies, structures, and high-value convoys.
Unlike burst-damage builds that rely on quick eliminations, the Hullcarver Galleon excels in extended engagements. Its strength comes from maintaining constant pressure while stacking damage bonuses and recovering from incoming attacks. With the right weapon combination and furniture choices, this ship can become a reliable frontline vessel capable of handling some of the toughest naval encounters.
For players looking to improve their ship progression and combat efficiency, investing in the right Skull and Bones Silver can help optimize equipment choices and prepare your Galleon for challenging battles.
Hullcarver Galleon Build Overview
The core idea behind this build is simple:
- Use Hullcarver Culverins to build up continuous damage bonuses.
- Combine healing furniture with defensive armor to survive prolonged fights.
- Use auxiliary weapons to destroy structures and groups of enemies quickly.
- Focus on piercing, critical damage, and repair-based mastery bonuses.
The build is especially effective against:
| Target Type | Effectiveness |
| Armored Ships | Excellent due to piercing damage |
| Convoys | Excellent sustained DPS and survivability |
| Fortifications | Strong structural damage output |
| Large Enemy Groups | Good with mortar and explosive tools |
Core Weapon Setup
Port & Starboard: Hullcarver Culverins
The Hullcarver Culverins are the centerpiece of this Galleon setup.
Their main advantage is their stacking damage mechanic:
- Landing six consecutive hits increases damage by 12% for 25 seconds.
- If the target is already punctured, the bonus increases to 18%.
Because Galleons naturally excel at broadside combat, these weapons allow players to maintain high sustained DPS while staying at an optimal fighting distance.
To maximize performance:
- Stay alongside enemies whenever possible.
- Prioritize accuracy over random firing.
- Maintain pressure to keep the damage buff active.
Bow & Stern Weapons
For the front and rear weapon slots, players have several effective options.
Carronades
Carronades are useful for applying flooding effects and dealing explosive damage against groups of enemies. They work especially well when fighting multiple targets during convoy attacks.
Royal Custodian Mortar
This provides additional area damage and helps control enemy clusters. It is a strong alternative when fighting groups rather than individual ships.
Auxiliary Weapon Choices
The auxiliary slot determines how effectively your Galleon handles large targets.
Recommended options:
Leopold III
- High ranged damage.
- Excellent against enemy ships and structures.
- Helps maintain pressure before closing distance.
De Brecker Mortar
- Strong area damage.
- Effective for convoy clearing.
- Provides additional structural destruction capabilities.
These weapons complement the Hullcarver Culverins by adding burst damage when enemies are vulnerable.
Best Armor Choices
The Galleon Hullcarver build relies on defensive armor to survive long encounters.
Buccaneer’s Oath
This armor provides strong damage mitigation, making it ideal for players who frequently engage powerful enemies or remain under heavy fire.
Black Prince
Another excellent choice that improves survivability while allowing the ship to continue dealing damage during intense battles.
Both armor options support the build’s main philosophy: survive longer, maintain pressure, and win through consistent damage output.
Recommended Furniture Setup
Furniture plays a major role in turning the Hullcarver Galleon into a durable combat platform.
Culverin Works I
Effect:
- Increases culverin damage.
- Improves reload speed.
Since the Hullcarver Culverins are the primary source of damage, this furniture provides direct improvements to the ship’s main weapon system.
Book of the First Medic
Effect:
- Strengthens healing synergy.
- Improves long-term combat endurance.
This is essential for extended engagements where repair efficiency determines survival.
Mega Corpse Bomb
Effect:
- Greatly increases auxiliary weapon damage.
- Improves crowd control during convoy attacks.
This furniture transforms mortar attacks into powerful tools for clearing multiple enemies.
Resist Maintenance & Fatal Strike
These options provide additional defensive and offensive benefits:
- Reduce incoming damage.
- Increase severe damage potential.
- Improve performance during aggressive plays such as ramming.
Mastery and Skill Priority
The seasonal mastery tree should focus on improving the Galleon’s ability to sustain damage while maintaining offensive pressure.
Recommended Path: Battle Medic
The Battle Medic path is highly recommended because it increases weapon damage based on the number of repair weapons equipped.
This creates a strong balance between:
- Damage output.
- Healing capability.
- Long-duration survival.
Important Skill Priorities
Focus skill points into:
| Skill Area | Purpose |
| Specialized Munitions | Improves weapon effectiveness |
| Piercing Damage | Enhances performance against armor |
| Critical Damage Control | Increases damage consistency |
| Repair Bonuses | Improves battlefield endurance |
This setup allows the Galleon to function as both a damage dealer and a durable frontline ship.
Combat Strategy for the Hullcarver Galleon
The Hullcarver build performs best with a controlled combat approach.
Step 1: Open With Long-Range Damage
Use Leopold III or De Brecker Mortar to weaken enemy ships before entering broadside range.
Step 2: Maintain Broadside Pressure
Once positioned correctly:
- Fire Hullcarver Culverins consistently.
- Build the six-hit damage bonus.
- Keep the 18% puncture bonus active whenever possible.
Step 3: Manage Repairs Carefully
Avoid wasting healing abilities early. The build becomes stronger during longer fights, so saving repairs for critical moments increases overall efficiency.
Step 4: Control Groups and Convoys
Use mortars and explosive weapons against clusters while allowing your Culverins to focus on priority targets.
Players who want to quickly upgrade their ship setup can also look into SNB Items for sale to acquire useful resources and equipment options for improving their naval progression.
Recommended Hullcarver Galleon Build Summary
| Category | Recommended Choice |
| Main Weapons | Hullcarver Culverins |
| Bow/Stern | Carronades or Royal Custodian Mortar |
| Auxiliary | Leopold III or De Brecker Mortar |
| Armor | Buccaneer’s Oath / Black Prince |
| Key Furniture | Culverin Works I, Book of the First Medic, Mega Corpse Bomb |
| Mastery Path | Battle Medic |
| Playstyle | Sustained DPS + Defensive Endurance |
Why the Hullcarver Galleon Build Is Strong
The Galleon Hullcarver build succeeds because it combines the strengths of heavy ships: durability, powerful broadside attacks, and long-range artillery support. While it may not provide the fastest burst damage available, it rewards players who understand positioning, timing, and resource management.
For PvE encounters, convoy farming, and battles against heavily armored targets, this setup offers one of the most reliable ways to stay alive while consistently dealing massive damage across the battlefield.